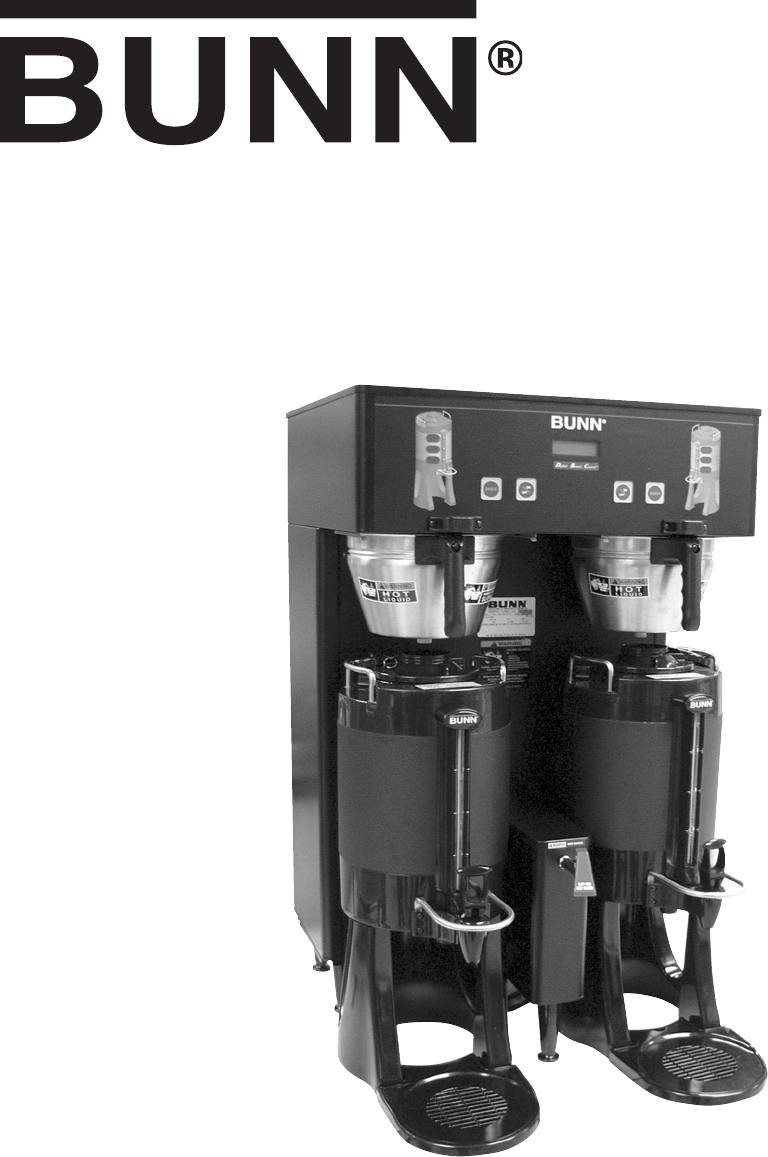
Bunn Dual TF DBC User Manual
Browse online or download User Manual for Coffee machines Bunn Dual TF DBC. Bunn Dual TF DBC User Manual
- Page / 56
- Table of contents
- BOOKMARKS
- WITH SMART FUNNEL 1
- INTRODUCTION 2
- TABLE OF CONTENTS 3
- ELECTRICAL HOOK-UP 5
- PLUMBING REQUIREMENTS 7
- PLUMBING HOOK-UP 7
- OPERATING CONTROLS 8
- INITIAL SETUP 9
- COFFEE BREWING 9
- CLEANING 10
- GLOSSARY 11
- PROGRAMMING 12
- READY TO BREW 13
- WATER TEMP: 205° 13
- BREW LOCKOUT? 13
- NO DONE YES 13
- 35058.1 071205 14
- Returns to normal 15
- METRIC DONE ENG 18
- 35058 121102 22
- NEXT FUNCTION 23
- SET PULSE BREW (cont.) 27
- 5 SEC. DELAY 28
- See SET PULSE BREW 28
- ENTER TIMES 28
- ENABLE ADS ? 33
- NO DONE YES 33
- SET READY: XXX° 34
- (-) DONE (+) 34
- XXX REFILL -> XXX 34
- L BYPS OZ/M: XXX 35
- LEFT OZ XX.X 37
- (-) DONE (+) 37
- NEW L BYPS FLOW 37
- XX.X OZ/M 37
- FUNNEL DETECT ? 38
- TROUBLESHOOTING 41
- OVERFLOW CUP 41
- FULL. EMPTY CUP 41
- NO FUNNEL 41
- TEMPERATURE 42
- SCHEMATIC WIRING DIAGRAM 52
- DUAL TF DBC BREWWISE 52
- 6/,4!# 56
- 0(!3%4/0(!3% 56
- 6/,43!# 56
- 0(!3%4/.%542! 56
- 0(!3%(: 56
Summary of Contents
BUNN-O-MATIC CORPORATIONPOST OFFICE BOX 3227SPRINGFIELD, ILLINOIS 62708-3227PHONE: (217) 529-6601 FAX: (217) 529-6644 www.bunnomatic.comINSTAL
Page 1035058.1 071205CLEANING1. The use of a damp cloth rinsed in any mild, nonabrasive, liquid detergent is recommended for cleaning all surfaces on
Page 11GLOSSARYAD CARD: An assembly consisting of computer chips and an instruction label. Used for loading advertising messages into the brewer.BREW
Page 12PROGRAMMING Using the menu-driven display on the front of the brewer, the operator has the ability to alter or modify various brewing paramete
Page 13MAIN SCREEN This screen will be shown when the brewer is ready for use. The screen displays the water temperature in the tank. When the water
Page 14PROGRAMMING THE BREWER (cont.)PROGRAM FUNCTIONS - LEVEL 2 There are three methods of programming the various brewing parameters of the Dual TF
Page 15LEVEL 1Press upper right hidden switch for approximately 2 seconds, until the following screen appears.LEVEL 2Press upper right hidden switch
Page 16% BYPASS XX (-) DONE (+)3 BATCHES DONE? NO YESSET PULSE BREWFULL1/21/4LEFT,SET ALL 3BATCHESFULL1/21/4RIGHT,SET ALL 3BATCHES3
Page 17
Page 18UNITSMETRIC DONE ENGCHANGING UNITSWILL!! ERASE!!ALL PREVIOUSLYSTORED RECIPESAND ALL SETUPINFO WIL BE LOST!ARE YOU SURE?YES NOSELEC
Page 19
Page 2BUNN-O-MATIC COMMERCIAL PRODUCT WARRANTYBunn-O-Matic Corp. (“BUNN”) warrants equipment manufactured by it as follows:1) All equipment other than
Page 20PROGRAMMING THE BREWER (cont.)SET NEW RECIPES (cont.)8. Using (-) and (+), set the amount of brew water, in ounces, to be dispensed for that pa
Page 21POSITION CARD UNDER THELEFT SIDE SENSOR COIL(COFFEE NAME)SHOW QUIT SAVECARD CONTAINSRECIPE FORREADY TO BREWWATER TEMP: 200º(COFFEE NAME)SETUP
Page 22SET NEW RECIPE:If not using a Smart Funnel (with a sensor coil) and/or a G9-2T DBC or MHG Grinder, the brewer will func-tion as a standard Bunn
Page 23REVIEW RECIPES/MODIFY RECIPES/SET UP NO NAME COFFEE FLAVORS: This function has three parts. It allows the operator to view the brew settings f
Page 24BREW OZ (SETTING OR ADJUSTING BREW VOL-UMES) This function allows adjustment of the brew vol-umes for each batch. The indicator signifi es vol
Page 25% BYPASS This function allows adjustment of the amount of water that bypasses the grounds. The number signi-fi es the percentage of the brew vo
Page 26SET PULSE BREW: This function allows the operator to program the brewer to "pulse” the sprayhead fl ow on and off during a brew cycle (sta
Page 27SET PULSE BREW (cont.)PROGRAMMING THE BREWER (cont.)
Page 28PROGRAMMING THE BREWER (cont.)SET PULSE BREW - EASY PULSE SETUPNOTE: The procedure to enter the PULSE BREW function must be performed prior to
Page 29PROGRAMMING THE BREWER (cont.)SET PULSE BREW - ENTER TIMESNOTE: The procedure to enter the PULSE BREW function must be performed prior to fol
Page 3TABLE OF CONTENTSUser Notices ...
Page 30PROGRAMMING THE BREWER (cont.)SET PREINFUSION: This function sets the brewer to turn the sprayhead fl ow on for a preset time (1st ON TIME) fol
Page 31PROGRAMMING THE BREWER (cont.)DRIP TIME (now displayed on "non" funnel lock units as well) This function allows the setting or modifi
Page 32COPY SETTINGS (NO NAME COFFEE SETTINGS ONLY) This function is used to transfer all the brew set-tings from a NO NAME coffee fl avor programmed
Page 33PROGRAMMING THE BREWER (cont.)2. Press YES in this screen. The display should read LEFT ->->-> RIGHT. 3. If the initial programming w
Page 34Procedure to set ready temperature:1. Press and hold upper right hidden switch until the display reads UNITS. Release switch. Continue to pre
Page 35release DONE to advance to next function screen, CALIBRATE FLOW. Another alternative is to press and release either ON/OFF switch located on th
Page 36PROGRAMMING THE BREWER (cont.)and release either ON/OFF switch located on the front switch panel to exit the CALIBRATE FLOW function and return
Page 37PROGRAMMING THE BREWER (cont.)P2609LEFT OZ XX.X(-) DONE (+)NEW L BYPS FLOWXX.X OZ/ML or RLeft or RightEXIT TO THENEXT FUNCTIONSCR
Page 38PROGRAMMING THE BREWER (cont.)EXIT TONEXT FUNCTIONSCREENEXIT TONEXT FUNCTIONSCREENPRESS AND RELEASE® SYMBOLPRESS AND RELEASE® SYMBOLNEXT COMPON
Page 39PROGRAMMING THE BREWER (cont.)SERVICE TOOLS (cont.)Procedure to test components (outputs):1. Place brew funnels into rails on both sides of br
Page 4
Page 40SERVICE TOOLS (cont.)PROGRAMMING THE BREWER (cont.)9. After all switches have been tested, press and re-lease the right hidden switch (®). Thi
Page 41TROUBLESHOOTINGA troubleshooting guide is provided to suggest probable causes and remedies for the most likely problems encountered. If the pr
Page 42TROUBLESHOOTING (cont.)Screen Displayed Possible Cause Troubleshooting Procedures1. Water temperature in the tank does not meet the SET REA
Page 43TROUBLESHOOTING (cont.)Troubleshooting ProceduresPossible CauseScreen Displayed 1. ON/OFF switch was pressed after the brew cycle was start
Page 44TROUBLESHOOTING (cont.)Troubleshooting ProceduresPossible CauseScreen Displayed1. Water shut off to brewer2. Inlet Solenoid Valve failure3. Con
Page 45Equipment will not operate.Brew cycle will not start.Automatic refi ll will not operate or display shows FILL TIME TOO LONG1. No power or incorr
Page 46Troubleshooting ProcedureTROUBLESHOOTING (cont.)ProblemPossible CauseCheck the sensitivity setting. Refer to the Refi ll function. If the left
Page 47TROUBLESHOOTING (cont.)ProblemPossible CauseTroubleshooting ProceduresCheck the sensitivity setting. Refer to the Refi ll function. If the left
Page 48Water will not heat or display shows HEATING TIME TOO LONG (cont.)Spitting or unusual steaming from sprayhead or air vents. (Water too hot)TROU
Page 49TROUBLESHOOTING (cont.)ProblemPossible CauseTroubleshooting ProceduresPerform the previous procedure for testing triacs. If the voltage measure
Page 5ELECTRICAL HOOK-UPWARNING – If the power cord is ever damaged, it must be replaced by the manufacturer or authorized service personel with a spe
Page 50TROUBLESHOOTING (cont.)Problem Possible CauseTroubleshooting ProceduresAdjust the brew volume as required to achieve the recommended volume fo
Page 51TROUBLESHOOTING (cont.)ProblemPossible Cause Troubleshooting ProceduresConsider adjusting bypass percent-age, preinfusion, or pulse brew. Conta
Page 5234916.0000A 10/02 © 2002 Bunn-O-Matic Corporation120/240 OR 120/208VOLT A.C.SINGLE PHASESCHEMATIC WIRING DIAGRAMDUAL TF DBC BREWWISENL2RIG
Page 5334916.0001B 03/03 © 2002 Bunn-O-Matic Corporation120/240 OR 120/208VOLT A.C.4 WIRE 3-PHASESCHEMATIC WIRING DIAGRAMDUAL TF DBC BREWWISECONT
Page 5434839.0000A 06/03 © 2003 Bunn-O-Matic Corporation200/230 VOLT A.C.2 WIRESINGLE PHASESCHEMATIC WIRING DIAGRAMDUAL TF DBC BREWWISERIGHTLIMIT
Page 55
Page 56!Ú"UNN/-ATIC#ORPORATION6/,4!#0(!3%4/0(!3%6/,43!#0(!3%4/.%542!,0(!3%(:2%$2%$2%
Page 6L1, L2, L3, are the 3 phasesV1 = Phase to phase voltage, between any 2 phases.V2 = Phase to neutral voltage, L1 to neutral must be 120V. SYSTEMV
Page 7PLUMBING REQUIREMENTSThis brewer must be connected to a cold water system with operating pressure between 20 and 90 psi (138 and 620 kPa) from a
Page 8aabbccdefOPERATING CONTROLS OPERATING CONTROLS (a) BATCH SELECTOR SWITCHESPressing the switch corresponding to the Small, Medium, or Large batch
Page 9INITIAL SETUPCAUTION – The brewer must be disconnected from the power source throughout the initial setup, except when specifi ed in the instruct
Related products and manuals for Coffee machines Bunn Dual TF DBC
 (36 pages)
(27 pages)
(36 pages)
(27 pages)
 (13 pages)
(2 pages)
(2 pages)
(17 pages)
(2 pages)
(2 pages)
(41 pages)
(24 pages)
(17 pages)
(3 pages)
(13 pages)
(2 pages)
(2 pages)
(17 pages)
(2 pages)
(2 pages)
(41 pages)
(24 pages)
(17 pages)
(3 pages)
© 2020, manymanuals.com. All rights reserved. | 3.547 s |
 Manymanuals.com
 Manymanuals.de
 Manymanuals.fr
 Manymanuals.it
 Manymanuals.pl
 Manymanuals.cz
 Manymanuals.es
 Manymanuals-pt.com
Comments to this Manuals